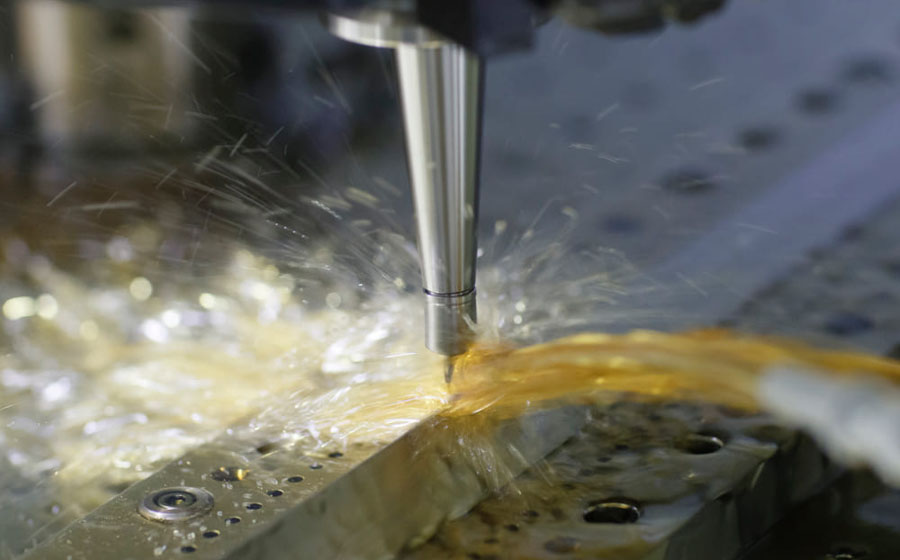
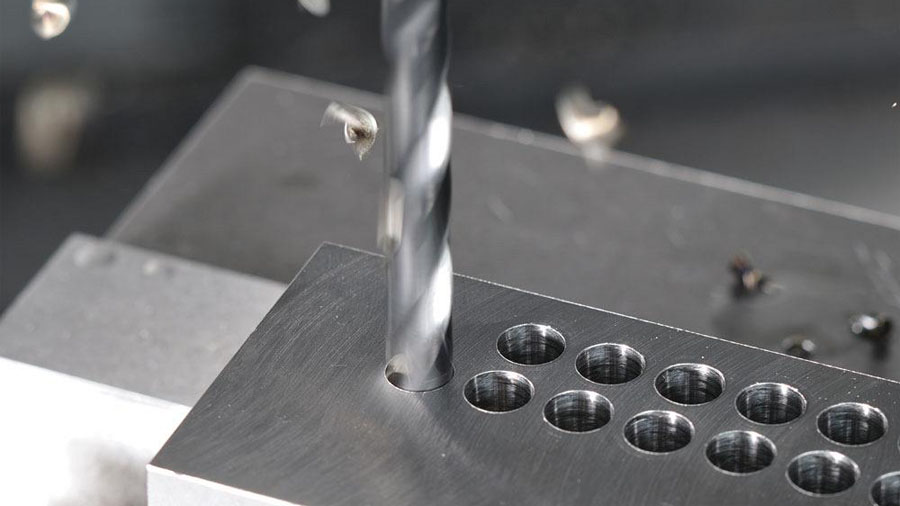
Good drilling is very important for cnc machining, so this article summarizes the drilling steps and methods to improve drilling accuracy, hoping to help those who need it.
Basic Concept Of Drilling
Under normal circumstances, drilling refers to a processing method in which a drill is used to make holes on the product display.
When drilling the product on the drilling machine, the drill bit should complete the two movements simultaneously.
1.The main movement, that is, the rotary movement of the drill bit around the axis (cutting movement).
2.Secondary movement, that is, the linear movement of the drill toward the workpiece along the axis (feeding movement).
When drilling, because of the flaws in the structure of the drill, it will leave traces on the processed parts of the product and affect the processing quality of the workpiece. The processing accuracy is generally below IT10, and the surface roughness is about Ra12.5μm, which belongs to the rough machining category.

Drilling Operation Process
1. Marking:
Before drilling, first understand the requirements of the drawing. According to the basic requirements of drilling, use tools to draw the center line of the hole position. The center line must be clear and accurate, and the thinner the better. After the line is drawn Use a vernier caliper or steel ruler to measure.
2. Draw Inspection Grid Or Inspection Circle:
After the line is drawn and passed the inspection, an inspection grid or inspection circle with the center line of the hole as the center of symmetry should be drawn as the inspection line during trial drilling to facilitate inspection during drilling And correct the borehole orientation.
3. Proofing And Punching:
Draw out the corresponding check square or check circle, you should carefully proof the punching. Make a small spot first, measure several times in different directions of the center line of the cross to see if the punch is indeed hit at the intersection of the center line of the cross, and then punch the punch to the right, round, and big to make it accurate. Knife centered.
4. Clamping:
Use a rag to clean the machine table, fixture surface, and reference surface of the workpiece, and then clamp the workpiece. The clamping is flat and reliable as required, and it is convenient to query and measure at any time. It is necessary to pay attention to the clamping method of the workpiece to prevent the workpiece from deforming due to the clamping.
4. Trial drilling:
Trial drilling must be done before the formal drilling: the drill bit is aligned with the center of the hole to drill a shallow pit, and then visually check whether the shallow pit is in the correct orientation, and continuous correction is needed to make the shallow pit and the inspection circle. Coaxial. If the violation is small, you can force the workpiece to move in the opposite direction of the violation during the trip to reach the gradual proofreading.
5. Drilling:
Machine-added drilling is generally done by manual feed operation. When the azimuth accuracy of the test drilling is required, the drilling can be carried out. During manual feed, the feed force should not cause the drill to bend and avoid the hole axis from skewing.

Ways To Improve Drilling Accuracy
1. Sharpen The Drill Bit
Before drilling, choose the corresponding drill bit for sharpening. The sharpened drill bit maintains accurate apex angle, relief angle and chisel edge bevel angle, the length of the two main cutting edges is flat and symmetrical to the center line of the drill bit, and the two main flank surfaces are smooth, in order to facilitate centering and reduce the roughness of the hole wall , The chisel edge and main cutting edge should also be properly ground (it is best to rough ground on a grinder first, and then finish on the oilstone).
2. Accurately Draw Lines
Use a height ruler to accurately draw a line. The first thing to do is to ensure that the standard is accurate. When scribing, the angle between the scribing angle and the scribing plane of the workpiece forms an angle of 40 to 60 degrees (along the scribing direction), so that the drawn lines are clear and even. Pay attention to the selection of the datum plane for marking, the datum plane must be processed accurately, and the flatness of itself and the perpendicularity to the adjacent surface must be ensured. After the hole cross line is drawn, in order to ensure easy alignment when drilling, use the center punch to punch out the center point on the cross line (requires that the punch point be small and the orientation must be accurate).
3. Correct Clamping
Under normal circumstances, for holes with a diameter less than 6mm, if the accuracy is not high, use hand pliers to clamp the workpiece for drilling; for holes of 6 to 10mm, if the workpiece is regular and smooth, flat-nose pliers can be used to hold the workpiece, but the workpiece should be clamped The surface is perpendicular to the spindle of the drilling machine. When drilling a hole with a larger diameter, the flat-nose pliers must be fixed with a bolt pressing plate; for larger workpieces with a hole diameter of 10mm or more, the pressing plate clamping method is used to drill the hole.
4. Accurate Alignment
After the workpiece is clamped, do not rush to drop the drill, and firstly perform alignment. Alignment has static alignment and dynamic alignment. The so-called static alignment refers to alignment before the drilling machine is launched, so that the center line of the drilling machine spindle and the cross line of the workpiece are aligned. This method is safe and convenient for beginners, and is easier to grasp, but it does not take into account the swing of the drilling machine spindle, for example. And other uncertain factors, the drilling accuracy is low. The dynamic search is performed after the drilling machine is launched. During the alignment, some uncertain factors are taken into account, and the accuracy is relatively high.
5. Careful Inspection
The detection can accurately and timely find the accuracy of the hole, so that necessary measures can be taken to compensate. For holes with high drilling precision, we generally use drilling, reaming, and reaming processing techniques. After drilling a small hole in the first step, use a caliper to detect the error offset from the center of the bottom hole to the reference plane, and calculate the position of the bottom hole and the ideal center after actual measurement. If the error is not more than 0.10mm, it can be reamed. Properly increase the top angle of the drill bit, weaken the automatic centering effect, properly push the workpiece in the positive direction, and gradually increase the diameter of the drill tip to compensate. If the amount of fault is greater than 0.10mm, you can use assorted round files to trim the two side walls of the bottom hole, and the trimming part should be connected with the smooth transition of the bottom hole.


