In the CNC precision machining industry, CNC machinists like to see equipment like “/-0.005”, which is a technology that maintains strict service requirements in CNC precision parts machining. Tight tolerances are essential for high-quality, high-performance parts. Industries such as healthcare, aerospace, and military rely heavily on precise precision parts to thrive. Some parts even require an accuracy of 0.0005 inches- a width comparable to the thickness of a human hair. (What You Should Know About Machining Tolerance) Achieving tolerance is a challenging feat, but not entirely impossible. This is the difference between a person’s hair thickness and white blood cells. Here are some suggestions to help you achieve perfect CNC machining parts.
1.Spindle Warm Up for Maintaining Tight Tolerances
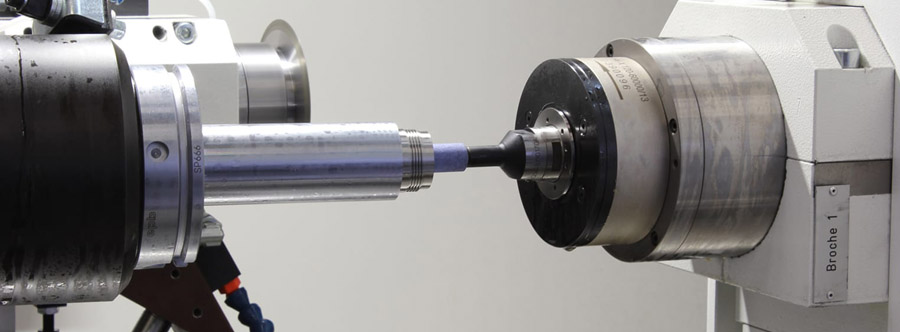
 CNC machines need a set of their own warm-up training to make them play the best. Although the machinist does preheat the spindle a lot before proceeding with the project, this is not enough for parts with very tight tolerances. The former method can only prevent premature bearing wear. Before starting the actual milling process, allow the machine to run for about 15-20 minutes, all parts are moved to the required temperature, it can help you reduce the risk of thermal expansion in the pretreatment, while providing you with the required size.
Tip: Don’t forget to measure the tool after warming up. Any difference on the front of the tool may prevent you from achieving the desired result.
2.Strict Tool Selection for Maintaining Tight Tolerances
You need to ensure that you have special equipment for roughing and finishing so that roughing tools can withstand wear, while finishing tools save only one process to ensure a repeatable process for creating precise parts. Oversize work: hope that the absolute size is below the set size is absolutely terrifying for the mechanic.
Gauge pins are a handy tool in holding tight tolerances in that you can machine an under sized feature and then dial it in.
Gauge pins can be used measure an under-dimensioned feature before machining it to an exact size.
3.Compensation for Maintaining Tight Tolerances
 Compensate your tools-Tool manufacturers are not perfect, so they are somewhat tolerant of tool design. They know that if you plan to use their tools to make something, you will be happier if the feature size it cuts is too small instead of too large. Knowing this, you will want to make sure that the first thing to do when setting up an accurate job is to enter the actual tool diameter. You can do this in several ways, but my preferred method is to mill the feature and then use a precise tool to verify the size-a gauge pin or block will work well. This is easy-if you use a 0.236 inch tool to insert a 0.250 inch hole and only a 0.248 inch gauge pin can be inserted, then your tool size will be reduced by 0.001 inches (use half of the value because it is oversized on both sides) small). At this point, you can use the CAM software or use the Tool Comp command in the cut file to compensate the size to 0.235 inches.
4.Temperature for Maintaining Tight Tolerances
The correct temperature is one of the most critical factors in maintaining tight tolerances, because it can cause so much change that you won’t even notice it. A slight shift in the set temperature will affect your machine and parts in different ways. In fact, even unconscious errors, such as not paying attention to where the machine is placed, can damage the entire process. During the machining process, the expansion and contraction of the milling machine or cutting material can be very different.
For example, if your machine is placed near a window and it is cold outside, the sun will shine on the machine at some time of the day. For another example, does the air conditioning system start in the afternoon and blow cold air into the cabin? Are your raw materials stored in a hot warehouse and then entered at a low temperature of 68 degrees Celsius? Put all of these in place-keep your machine and materials in a temperature-controlled environment during the entire process, avoid direct sunlight, this is often overlooked but is an important factor to ensure the consistency of the machining .
The above description is introduced from the perspective of maintaining tight tolerances in the overall machining process. Below we introduce several operating methods to maintain tight tolerances from the perspective of detailed machining parts.
Maintaining Tolerances in Holemaking Operations
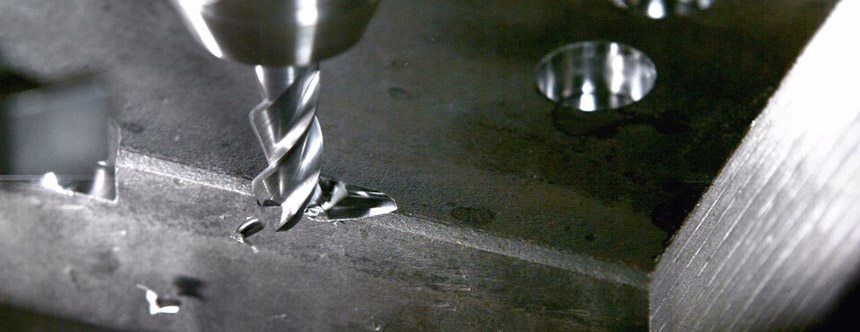
Holes usually require the strictest dimensional tolerances because they are usually intended to align perfectly with mating parts. To maintain tolerances, first test the runout of machines and tools. This simple but often overlooked step can save the mechanic a lot of time and frustration.
Point Drill
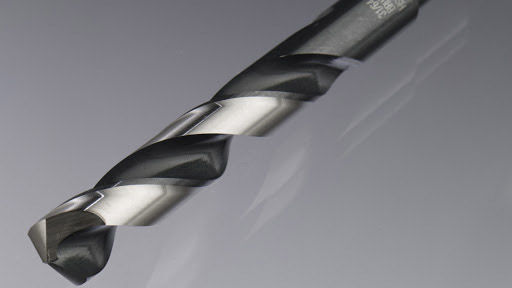
Spot drilling allows the drill bit to have a very precise starting point, thereby minimizing walking or deviation from the desired path. This is especially advantageous when machining irregular surfaces, because it is difficult to find the perfect location of the holes on these surfaces.

Reamer
Reaming is very suitable for work with very strict tolerances, because many miniature reamers have much stricter tolerances than drills. The reamer cuts on the chamfered edge, thereby removing the least amount of material in the hole, with the ultimate goal of making the size larger. Because the cutting edge of the reamer is very small, the core diameter of the tool is larger, so it is a more rigid tool.
Maintaining Tight Tolerances While Machining Walls
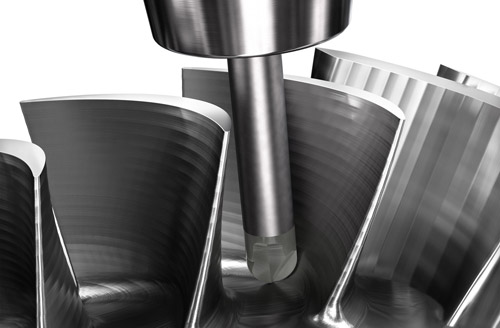
When wall machining becomes difficult due to deflection, tolerances must be maintained, or the tool will experience bending when force is applied. If an angle appears on the wall due to deflection, choose a tool within reach to reduce deflection along the neck of the tool. In addition, take more axial cutting depths and gradually carry out finishing to apply less pressure on the tool. In order to obtain surface finish tolerances, it may be necessary to use long-slot tools to minimize signs of residual tool paths on the part.

Corner Radius End Mill
Since end mills with fillet radius do not have sharp edges, their wear will be slower than square end mills. By using the corner radius tool, the cracks on the edge of the tool can be minimized, resulting in a uniform pressure distribution on each cutting edge. Since the sharp edges on square tools are less durable and are more prone to cracking due to the stress concentration at this point, the corner radius tools will be stronger and therefore less likely to cause tolerance changes.
Therefore, it is recommended to use roughing tools with corner radius contours and dressers with square contours to improve edge tolerances. When designing parts and keeping in mind that when manufacturing, if a wall with a larger radius has potential compared to a wall with a square edge, a wall with a larger radius can simplify machinability and reduce the number of tool changes.
Maintaining Tight Tolerances While Threading
Getting the thread to tolerance is only related to chip removal. Evacuation of chips is a problem that is often overlooked: if the chips in the hole are not removed before threading, interference in the tip of the tool may occur, causing vibration and chatter in the thread. This reduces the continuity of the thread and also changes the contact point. Thread discontinuity may be the difference between passing and failing parts, and since threading is usually the last application to reduce thread damage during machining, it also increases the possibility of chips being retained in the hole by other applications .
As you can see, holding tight tolerances is challenging but not impossible. Adopt the above-mentioned simple hacks to get the desired dimension at one go! If you need machining service with tight tolerance, welcome inquiry to us, SANS Machining will be your best choice for custom project partner.


