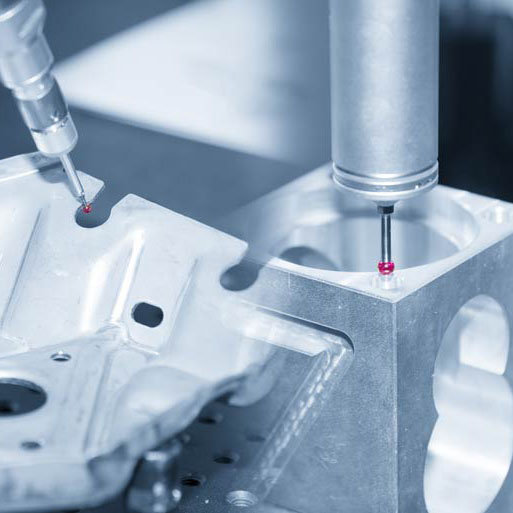
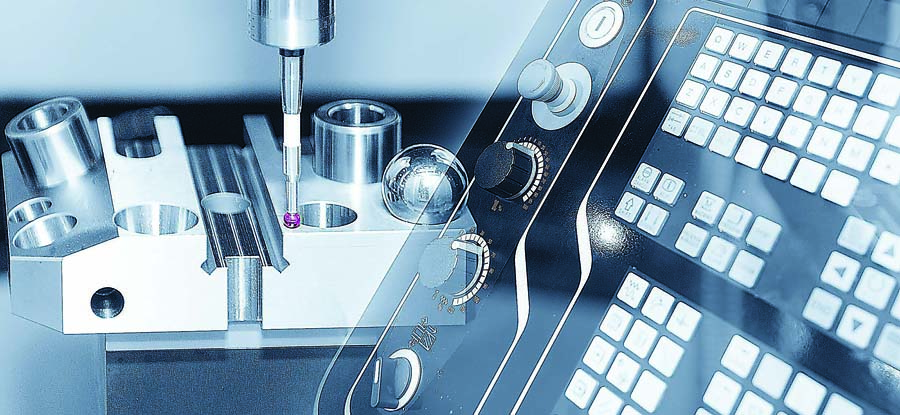
Coordinate measuring machines (CMM) have been around for a long time, first introduced to the market by DEA and Ferranti in the 1960s. These early coordinate measuring machines were manually operated by “hard detection” and eventually migrated to computer-controlled CNC units with trigger probes. The coordinate measuring machine is a modern automatic measurement technology, and an important manifestation of the development of high-precision and high-efficiency automatic measurement technology.
Today, CMM can be found in almost all precision manufacturing companies in the world and is the core of most quality control processes.
In the past few decades, coordinate measuring machines have become faster, more accurate, and cheaper. The development of CMM manufacturers includes making the structure stronger, lighter and thermally compensated for use outside the traditional temperature control quality laboratory.
Types of CMM
The coordinate measuring machine is a measuring tool that measures the workpiece by combining its own coordinate system with a probe to measure the physical geometric points of the part. In addition to accurate measurements, CMM also has the advantage of providing CMM operators with real-time information about the status of the manufacturing process. All global CMMs must comply with ISO 10360 international measurement standards and can be controlled by operators or computers. There are five main coordinate measuring machines used in today’s metrology:
Cantilever:
mainly used for measuring measuring tools and main parts.

Bridge:
The most popular in scanning and digitization work in the mold, machining and stamping markets.
Gantry:
used to measure large and heavy parts, such as large molds.
Horizontal Arm:
used to measure large quantities of parts in aerospace, defense, home appliances and other industries.
Portable (PCMM):
Hand-held 3D and geometric dimension and tolerance (GD&T) measurement, can also pass ISO 10360 certification.
The measurement principle of the coordinate measuring machine is to accurately measure the three coordinate values of the surface of the part. After a certain algorithm, the measurement elements such as lines, surfaces, cylinders and spheres are fitted, and the shape, position and other geometric quantities are obtained through mathematical calculations. data. Obviously, accurately measuring the coordinates of the surface points of the parts is the basis for evaluating geometric errors such as shape and position.
Tips Before Using CMM
The coordinate measuring machine is a highly precise measuring equipment, which has strict requirements on the working environment. For example, the temperature should be controlled at 20+/-2℃, the humidity should be controlled at 40%-60%, and good shockproof guarantee.
Analyze the drawings, determine the measurement to be measured according to the requirements of the drawings, and roughly plan the measurement process, such as the selection of benchmarks and the layout of measurement points.
Before measuring, select a suitable probe and perform probe verification to obtain the value of the probe ball radius. The probe calibration generally uses a standard ball as the reference, and the measuring point method is at least five-point method, that is, one point is taken from the top of the standard ball and four points are measured on the equator. During calibration, the probe head, probe, and standard ball must be well fixed and the surface clean. Probe calibration is the first step in the beginning of measurement, which has a greater impact on the measurement results, so you must pay enough attention.
In order to avoid the zero return error caused by using the machine coordinate system during measurement, the workpiece coordinate system needs to be established before starting the measurement. Establishing a suitable coordinate system is the basis for the subsequent measurement of a three-coordinate measuring machine. A reasonable coordinate system will help improve measurement accuracy and measurement efficiency. In addition, when batch testing, establishing a suitable coordinate system in programming can reduce work intensity and improve Measurement rate.

Application of CMM
CMM For Linear Surface Measurement
The simplest measurements include tolerances on linear or cylindrical surfaces. In most cases, these are measured by a machinist using a simple micrometer or gauge immediately after processing.
All modern industrial concepts, including future Industry 4.0, have a high degree of automation in the manufacturing process, even without a mechanic, they can complete additional movements and tasks. Quality control is a good example. You can program the CMM to perform the same operation on any number of parts in the batch.
CMM For Complex Surface Measurement
The main purpose of coordinate measuring machines is to measure complex surfaces. When used in turbine blades, airplane wings, pump impellers and other parts with unusual surfaces, the reason why CMM will achieve its full potential. If you are manufacturing a large number of identical parts, and these parts are so precise that you have to check each part, then automation of these operations is also possible. However, in most cases, such parts are manually measured by mechanics.
To measure complex surfaces, the mechanic will use the remote control to manually move the probe along three axes until the probe touches the part the mechanic needs. Then, after a lot of measurements, the points are analyzed and the contours of the parts are connected as splines. Then, compare the measurement results with the 3D model of the part (including acceptable deviations), or with some other data showing the required size.
CMM For Relationship And Formal Deviation
Most high-quality parts are characterized not only by their dimensional errors, but also by the accuracy of their surface shapes and their relative positions to each other. These deviations are especially important for reducing the vibration of rotating parts and ensuring smooth movement. CMM’s measurement of such deviations is not much different from that of complex surfaces. All formal and relational deviations have a base to compare against. Therefore, in order to meet the accuracy requirements, you must clamp the parts on the bottom surface and measure the required parts.
CMM For Surface Finish Measurement
The profiler is the most widely used instrument for surface finish measurement. However, due to its excellent accuracy, CMM machines can also measure the surface finish of parts. Replace the probe with a special needle, and then the needle will move along the surface and determine any microscopic irregularities that form the surface finish.
Conclusion
CMM will continue to support the production of high-precision parts in small stores, and continue to play an audit role, especially in the key medical and aerospace industries, to obtain fast and accurate part size and surface data. Its flexibility and precision have brought many opportunities to manufacturers. You can use CMM after machining or measure existing parts to redesign them, or use it as part of an automated production chain.


